 English
 Español
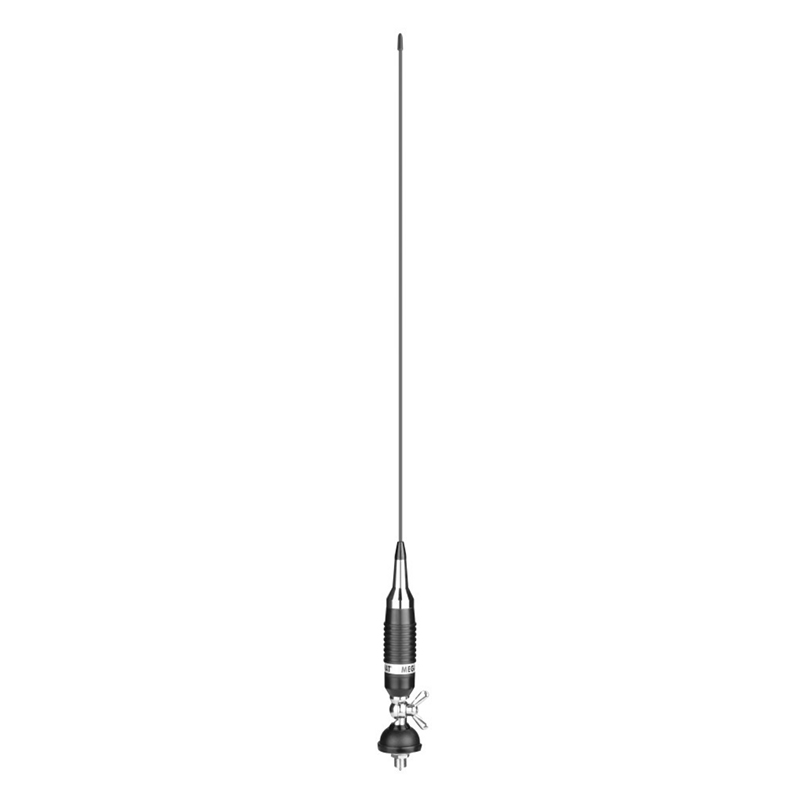
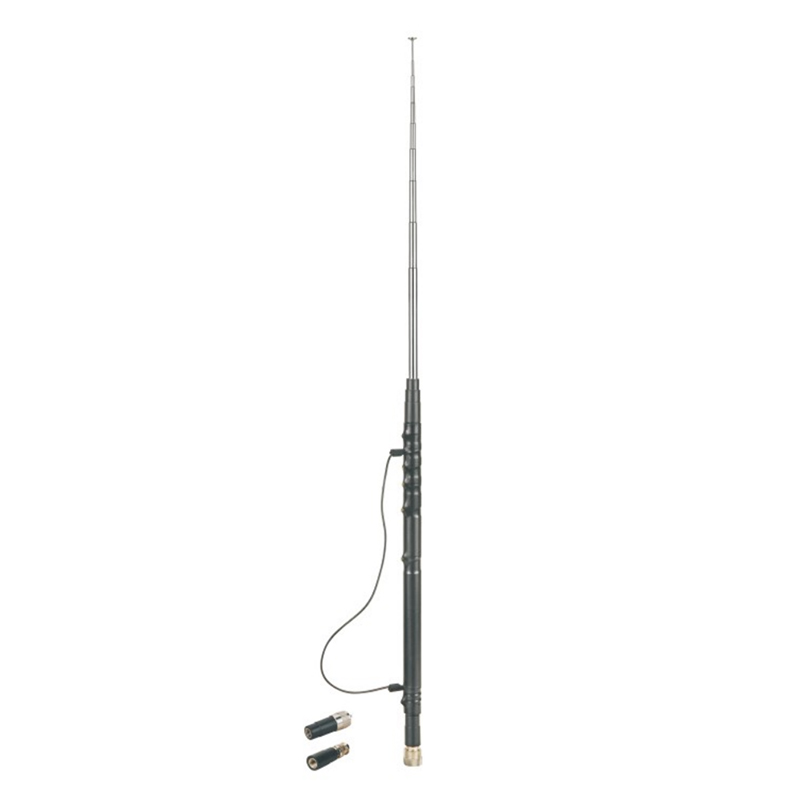
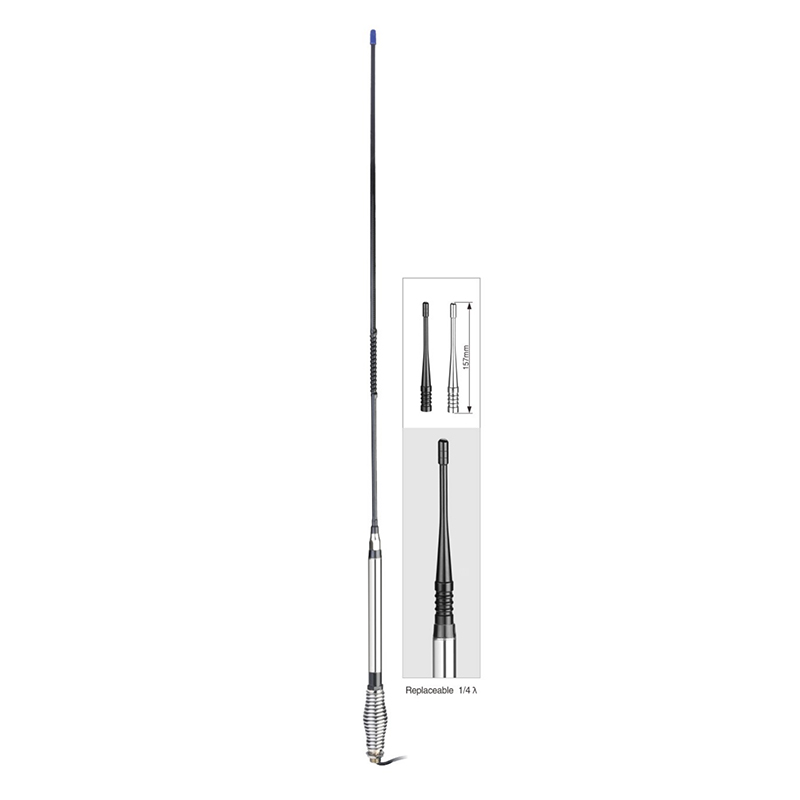
Frequency range: 26.5- 28MHz SWR: ≤1.2:1 Max. power: 35W continuous 250W Short time Bandwidth at S.W.R. 2:1: 1900KHz Impedance: 50ohm Whip length: 1200mm Adjustment: 0~90° Cable Length: RG58/157" Po...
See Details
Home / Customized Product / Industry news / CB Antenna 101: Your Essential Guide to Choosing and Installing Your First Antenna
CB Antenna 101: Your Essential Guide to Choosing and Installing Your First Antenna
For newcomers to the world of Citizen Band (CB) radio, unlocking clear communication beyond your vehicle's immediate vicinity hinges on one crucial component: the antenna. Often overlooked, the antenna is the vital link that transforms your radio's signal into effective communication, turning static-laden frustration into crisp conversations across miles. This guide demystifies the process of selecting and installing your first CB antenna, setting you up for on-air success.
Why the Antenna Matters (Far More Than You Think)
Your CB radio is only as good as the antenna connected to it. The antenna acts as both a signal broadcaster and receiver. A poor-quality or improperly installed antenna drastically reduces your effective range, introduces frustrating interference, and can even damage your radio over time. Investing time in choosing wisely and installing correctly is fundamental to enjoying the CB experience.
Choosing Your First Antenna: Key Considerations
Type:
Magnet Mount (Mag Mount): The most popular choice for beginners due to ease of installation and portability. Simply place the magnetic base on a clean, flat, metal section of your vehicle's roof for the best grounding. Ideal for temporary use or rental vehicles. Performance is generally good but can be affected by base size and surface contact.
Permanent Mount: Requires drilling a hole (typically on the roof, bed rail, or mirror bracket) for a fixed mounting stud (NMO or similar). Offers superior grounding and stability, translating to potentially better performance and durability, especially for fiberglass or larger whip antennas. Best for long-term installations.
Lip/Fender Mount: Clamps onto the edge of a hood, trunk, or door. Avoids drilling but grounding can be less reliable than roof mounts. Performance varies significantly based on placement and vehicle body interaction.
Length & Gain:
Antenna length is critical for optimal performance on the CB band (around 27 MHz). Full-size antennas are typically 102-108 inches (approx. 8.5-9 feet). These generally offer the best natural performance but can be impractical due to height.
Shorter antennas (e.g., 3 ft, 4 ft fiberglass) are more convenient but inherently trade off some performance. Manufacturers often specify "gain" figures (like 3dB, 6dB). Understand that gain is achieved by focusing the signal pattern (often upwards), which can be beneficial on flat terrain but potentially less effective in hilly areas compared to a full-length whip's more omnidirectional pattern. For beginners, a good quality 4-6 ft antenna offers a practical balance.
Construction:
Whip Antennas: Flexible steel whips are durable and perform well. Their length can be a consideration for garages or low clearances.
Fiberglass Antennas: Offer a rigid, fixed length in a lower-profile package. Choose reputable brands known for quality internal wiring to avoid performance degradation.
Installation: Precision is Paramount
A perfect antenna underperforms if installed poorly. Follow these essential steps:
Location, Location, Location: The center of the vehicle roof is the ideal mounting point for maximum ground plane and best overall performance. If a roof mount isn't possible (e.g., due to sunroof), the bed rail of a pickup truck or a sturdy bracket on the rear of an SUV are common alternatives. Avoid mounting solely on plastic bumpers or non-metallic surfaces.
Grounding (The Silent Key): A solid electrical connection between the antenna mount and the vehicle's metal body is absolutely critical. This connection forms the "ground plane," which the antenna relies on to function efficiently. Sand away paint or primer at the mount's contact point to ensure bare metal contact. Permanent mounts inherently ground through the mounting stud if installed correctly into metal. Mag mounts rely entirely on the base plate contacting clean, bare metal (wipe the spot thoroughly). Poor grounding is the #1 cause of high SWR and weak performance.
Running the Coax Cable:
Carefully route the coaxial cable from the antenna mount to the radio.
Avoid sharp bends (kinks damage the cable internally), keep it away from sharp edges or heat sources (like exhaust manifolds), and secure it with zip ties.
Try to minimize excess cable length inside the vehicle to prevent signal loss and interference pickup. Neatly coil any extra length.
Connecting to the Radio: Ensure the PL-259 connector on the coax cable is securely screwed onto the SO-239 connector on the back of your CB radio. Finger-tight is usually sufficient; avoid over-tightening.
The Non-Negotiable Step: SWR Tuning
Before keying up your microphone for the first time, you MUST tune your antenna using an SWR (Standing Wave Ratio) meter. SWR measures how efficiently power is transferred from the radio, through the coax cable, to the antenna. High SWR reflects power back to the radio, causing poor performance, overheating, and potential damage.
Acquire an SWR Meter: These are essential tools, readily available from CB radio suppliers.
Follow Instructions: Connect the meter between the radio and the antenna cable according to its specific instructions (typically Radio -> Meter -> Antenna).
Test on Channel 1 and Channel 40: With the vehicle parked in an open area away from large structures, perform a test transmission (key the mic without speaking) on Channel 1 and note the SWR reading. Repeat on Channel 40.
Adjust the Antenna: Most antennas have a tuning tip (whip antennas) or a set screw (fiberglass). Adjust slightly according to the antenna's manual.
Goal: Achieve the lowest possible SWR reading across both channels. A reading between 1.0 and 1.5 is excellent. Below 2.0 is generally acceptable for safe operation. Readings consistently above 3.0 indicate a serious problem (check connections, grounding, cable damage, or antenna fault) – do not operate your radio until resolved.
Safety First!
Lightning: CB antennas are lightning attractors. Disconnect the antenna cable from the radio and store it safely indoors during electrical storms. Do NOT use the radio during storms.
Power Lines: Be hyper-aware of overhead power lines at all times during installation, adjustment, or removal of roof-mounted antennas. Maintain ample clearance.
Driving Hazards: Ensure your antenna installation doesn't obstruct vision or present a hazard to pedestrians or structures (especially low clearances). Securely mount all components to prevent detachment while driving.
By understanding the fundamentals of antenna choice, meticulously following installation best practices, and rigorously performing the mandatory SWR tuning, you'll transform your CB radio from a novelty into a powerful communications tool. Properly installed and tuned, even a modest antenna can reliably connect you with fellow travelers, truckers, and enthusiasts miles down the road. Take the time to get it right, and welcome to the airwaves!
Related products
-
-
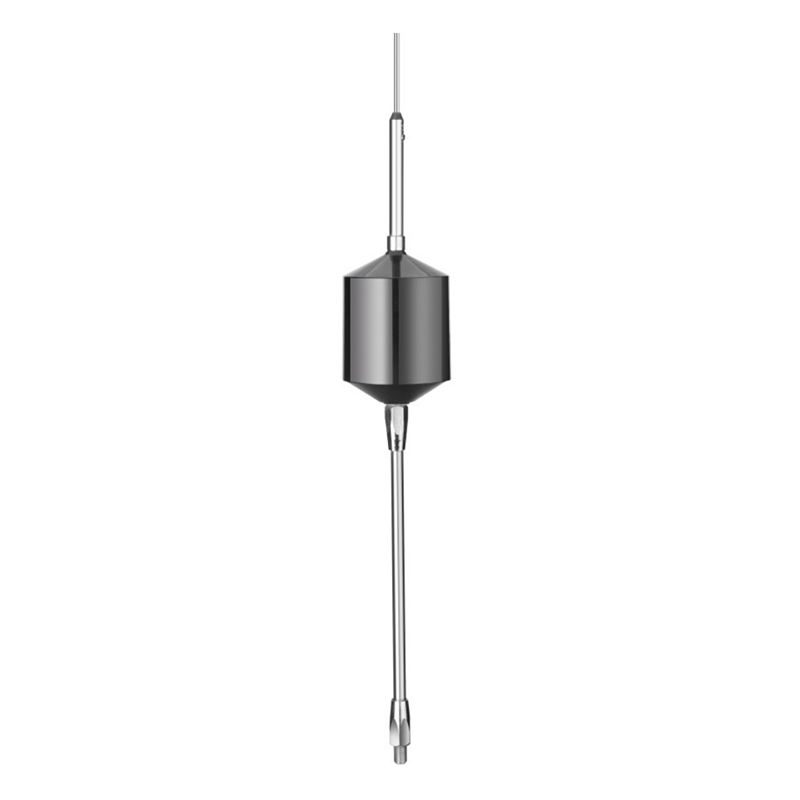
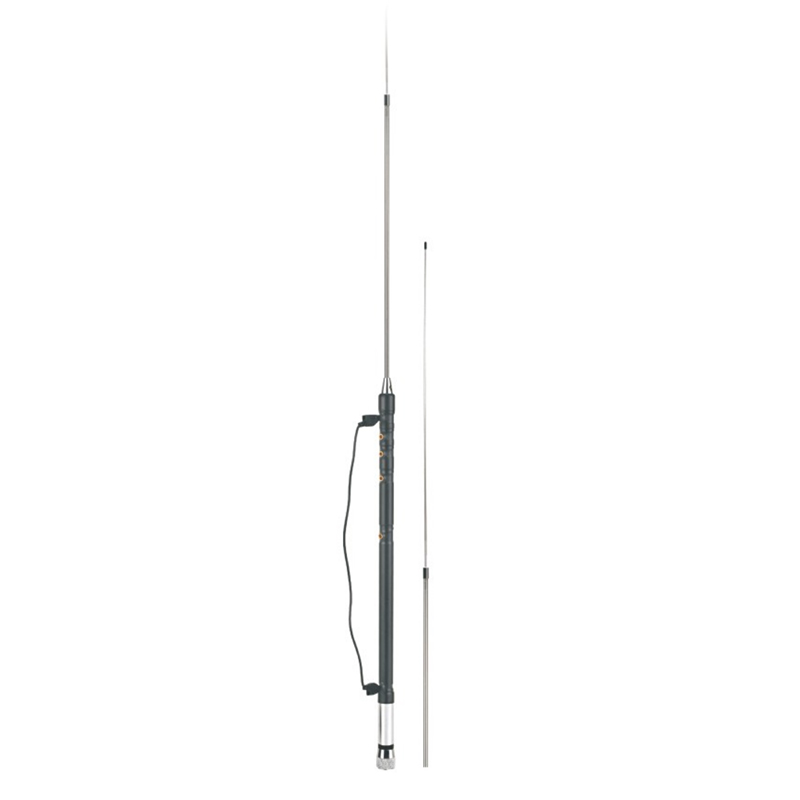
Type: 5/8λ Frequency range: 26.5-28MHz SWR: ≤1.2 Gain: >6dBi Bandwidth at S.W.R.2:1: 1300KHz Max power: 1000W Whip length: 1250mm Polarity: Vertical Connector: 3/8-24 Material: Copper Stainless ste...
See Details -
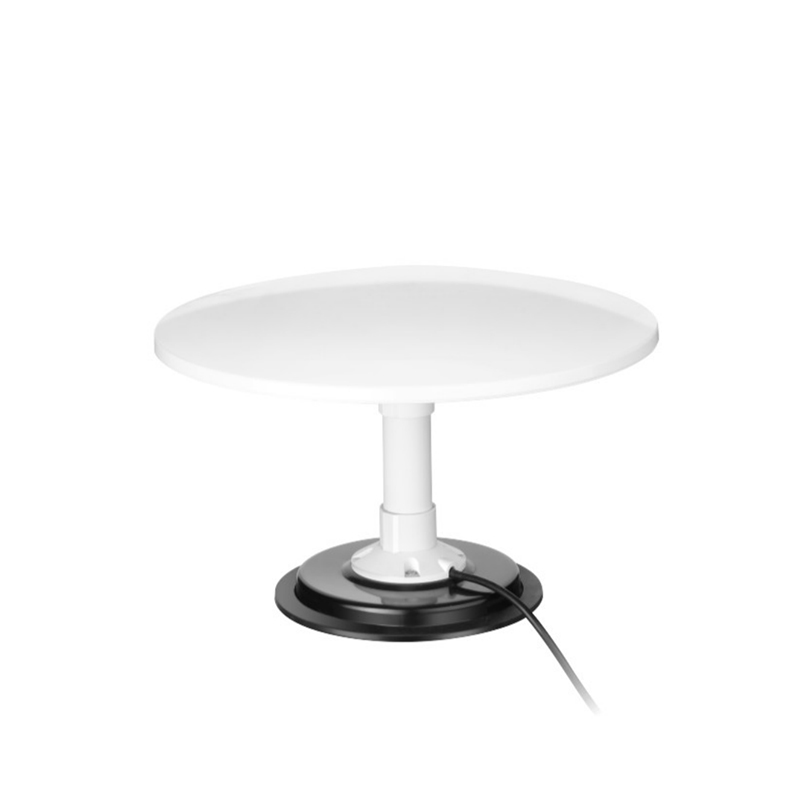
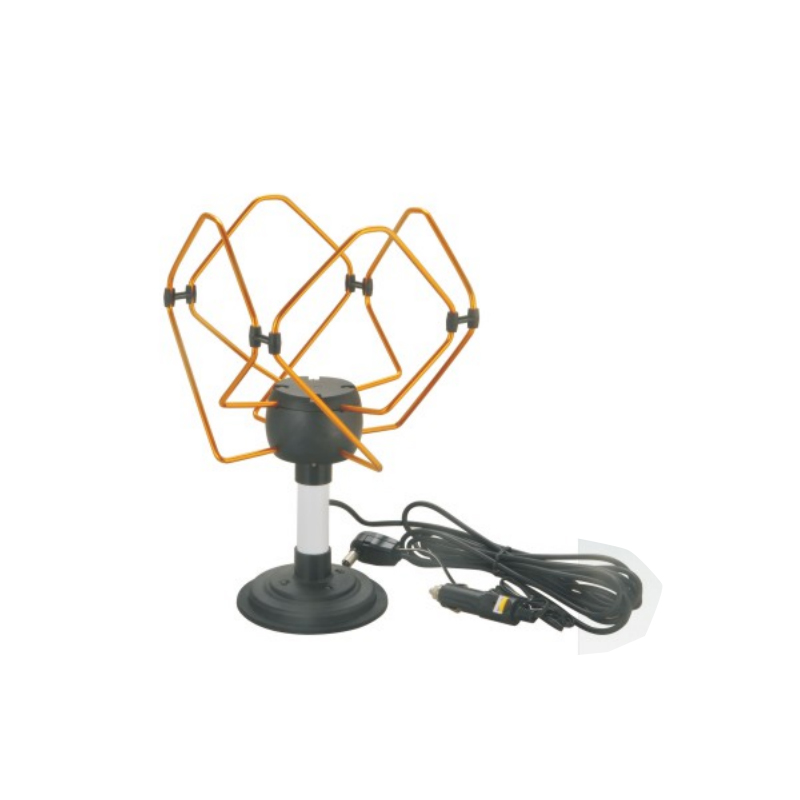
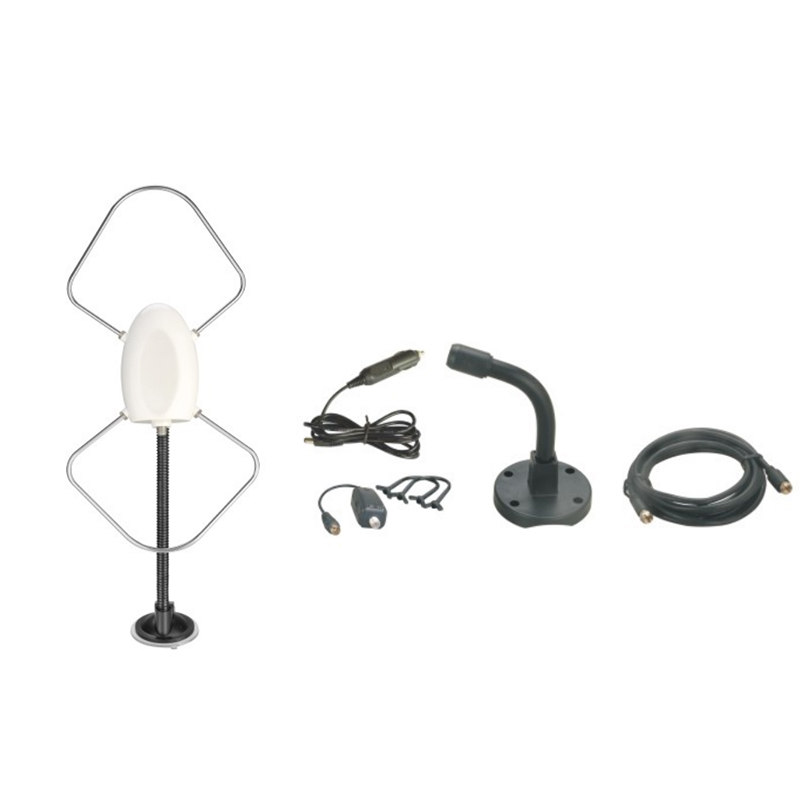
Electrical Specification Frequency Band: VHF, UHF Frequency: VHF: 174~230MHz, UHF: 470~862MHz Gain: 18±3dBi Work Voltage: 8~24V Impedance: 75ohm Radiation pattern: Omni-directional Coax Cable: 3C-2V, ...
See Details -
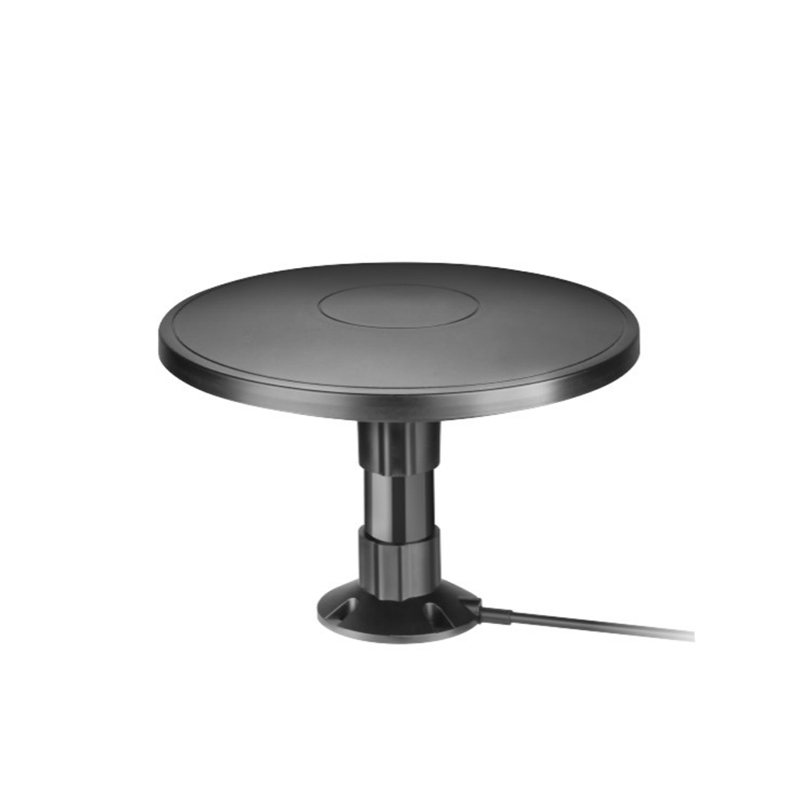
Electrical Specification Frequency Band: VHF, UHF Frequency: VHF: 174~230MHz UHF: 470~862MHz Gain: 18±3dBi Work Voltage: 8~24V Impedance: 75ohm Radiation pattern: Omni-directional Coax Cable: 3C-2V,...
See Details -
Band: 80,40,20,15, 10mts. Center frequency: 3.56, 7.05, 14.2, 21.1, 29MHz Connector: PL-259, 3/8-24 Impedance: 50ohm Whip Length: adjusted Material: Copper, Stainless Steel
See Details -
Band: 80, 40, 20, 15, 10, 6mts. Center frequency: 3.56, 7.05, 14.2, 21.1, 29, 50MHz Connector: UHF MALE(PL-259) Impedance: 50ohm Whip Length: adjusted Material: Copper, Stainless Steel
See Details -
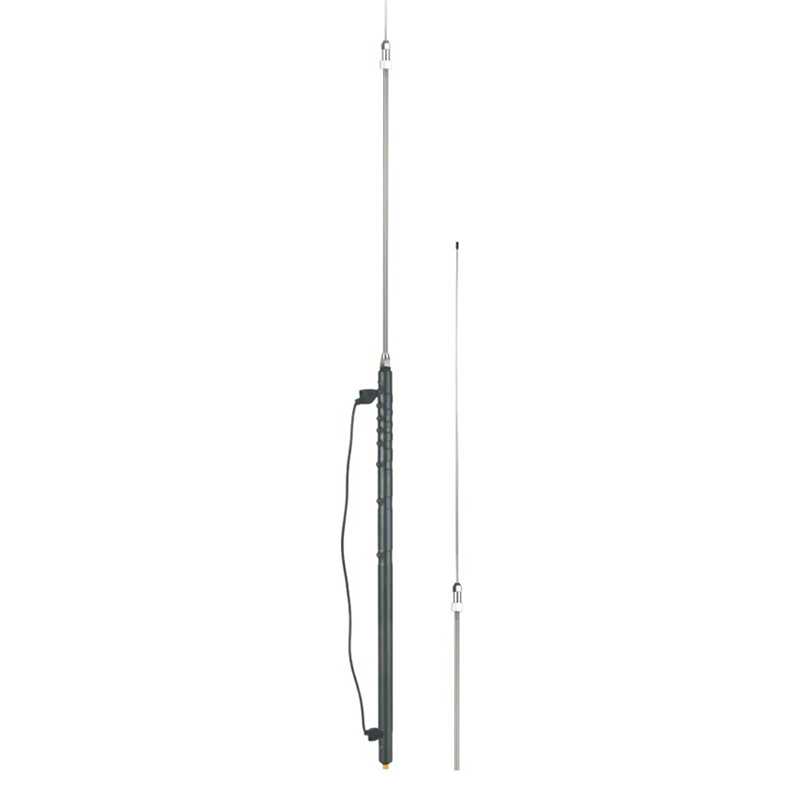
Band: 80, 40, 30, 20, 17, 15, 10, 6mts. Center frequency: 3.56, 7.05, 10.1, 14.2, 18, 21.1, 29, 50MHz Connector: 3/8-24 Impedance: 50ohm Whip Length: adjusted Material: Copper, Stainless Steel
See Details -
Electrical Specification Frequency: UHF: 470~862MHz Gain: 18±3dBi Work Voltage: 8~24V Impedance: 50ohm Radiation pattern: Omni-directional Coax Cable: 3C-2V, L=4000mm Connector: TV or Customized Size:...
See Details -
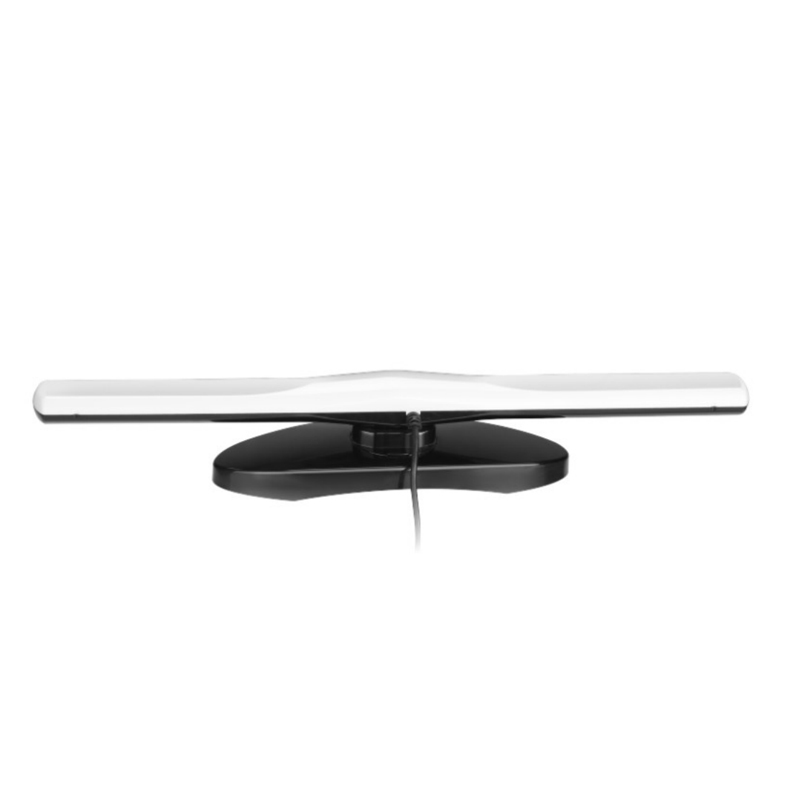
Electrical Specification Frequency: 470~862MHz Gain: 10±2dBi Work Voltage: 8~24V Impedance: 50ohm Coax Cable: 3C-2V, L=4000mm Connector: TV or Customized Size: 330mm
See Details -
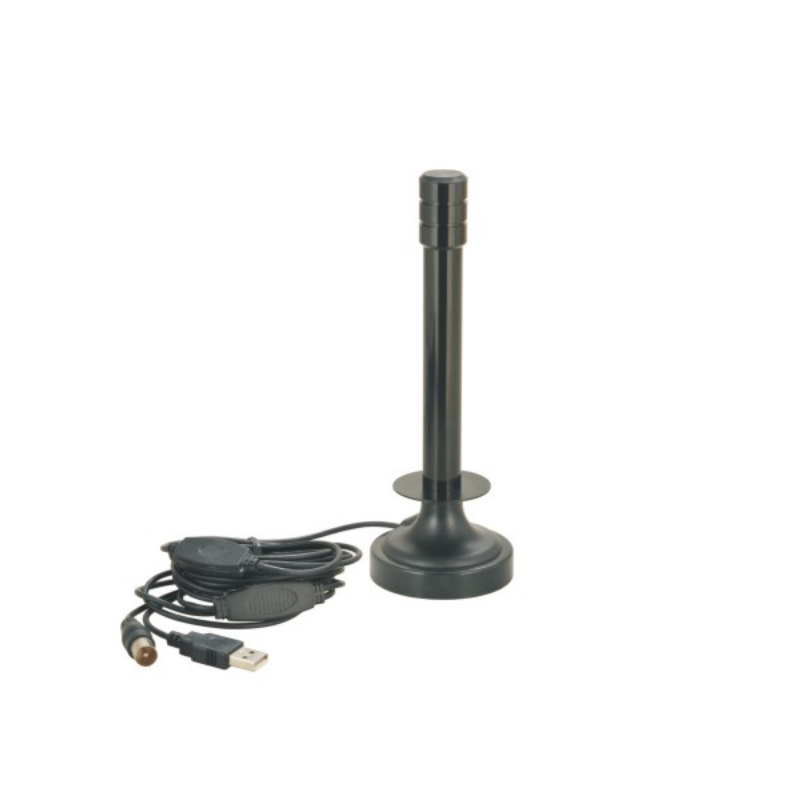
Electrical Specification Frequency: 470~862MHz Gain: 10±2dBi Work Voltage: 8~24V Impedance: 50ohmVSWR: ≤3:1 Coax Cable: RG174, L=3000mm Connector: USB, TV or Customized Size: 160mm
See Details -
Electrical Specification Frequency: 470~862MHz Gain: 10±2dBi Work Voltage: 8~24V Impedance: 50ohm Coax Cable: RG174, L=3000mm Connector: TV or Customized Size: 330mm
See Details -
Frequency: 476.42-477.40MHz Gain: 6.5 dB VSWR <1 .2: 1 Impedance: 50Ohms Radiation Pattern: Omni-directional Materials: Solid Fiberglass, Brass, stainless steel Antenna Length: 920mm Cable: RG58 C/...
See Details
Copyright © Shanghai Bodn Industrial Co., Ltd. All rights reserved. Wholesale Antennas Manufacturers OEM/ODM Antennas Company

Contact Us